3D / Blender
Product Renders
Photorealistic product visualizations in Blender. Teenage Engineering TP-7, KO II, OP-1 Field, Creator Micro — modeled from scratch with custom materials and Easter eggs.
3D / Blender
Photorealistic product visualizations in Blender. Teenage Engineering TP-7, KO II, OP-1 Field, Creator Micro — modeled from scratch with custom materials and Easter eggs.
This is what happens when I decide to learn something new. I'm always look for ways to fill gaps in my creative skill set. I started as a graphic designer. Moved to print design, then web design, and picked up video production along the way. But I couldn't do anything in 3D, and it bothered me. So I spent one fall dedicated entirely to learning Blender — every night after work, weekends, any free time. No course, no bootcamp. Just tutorials, documentation, and building things until they looked right.
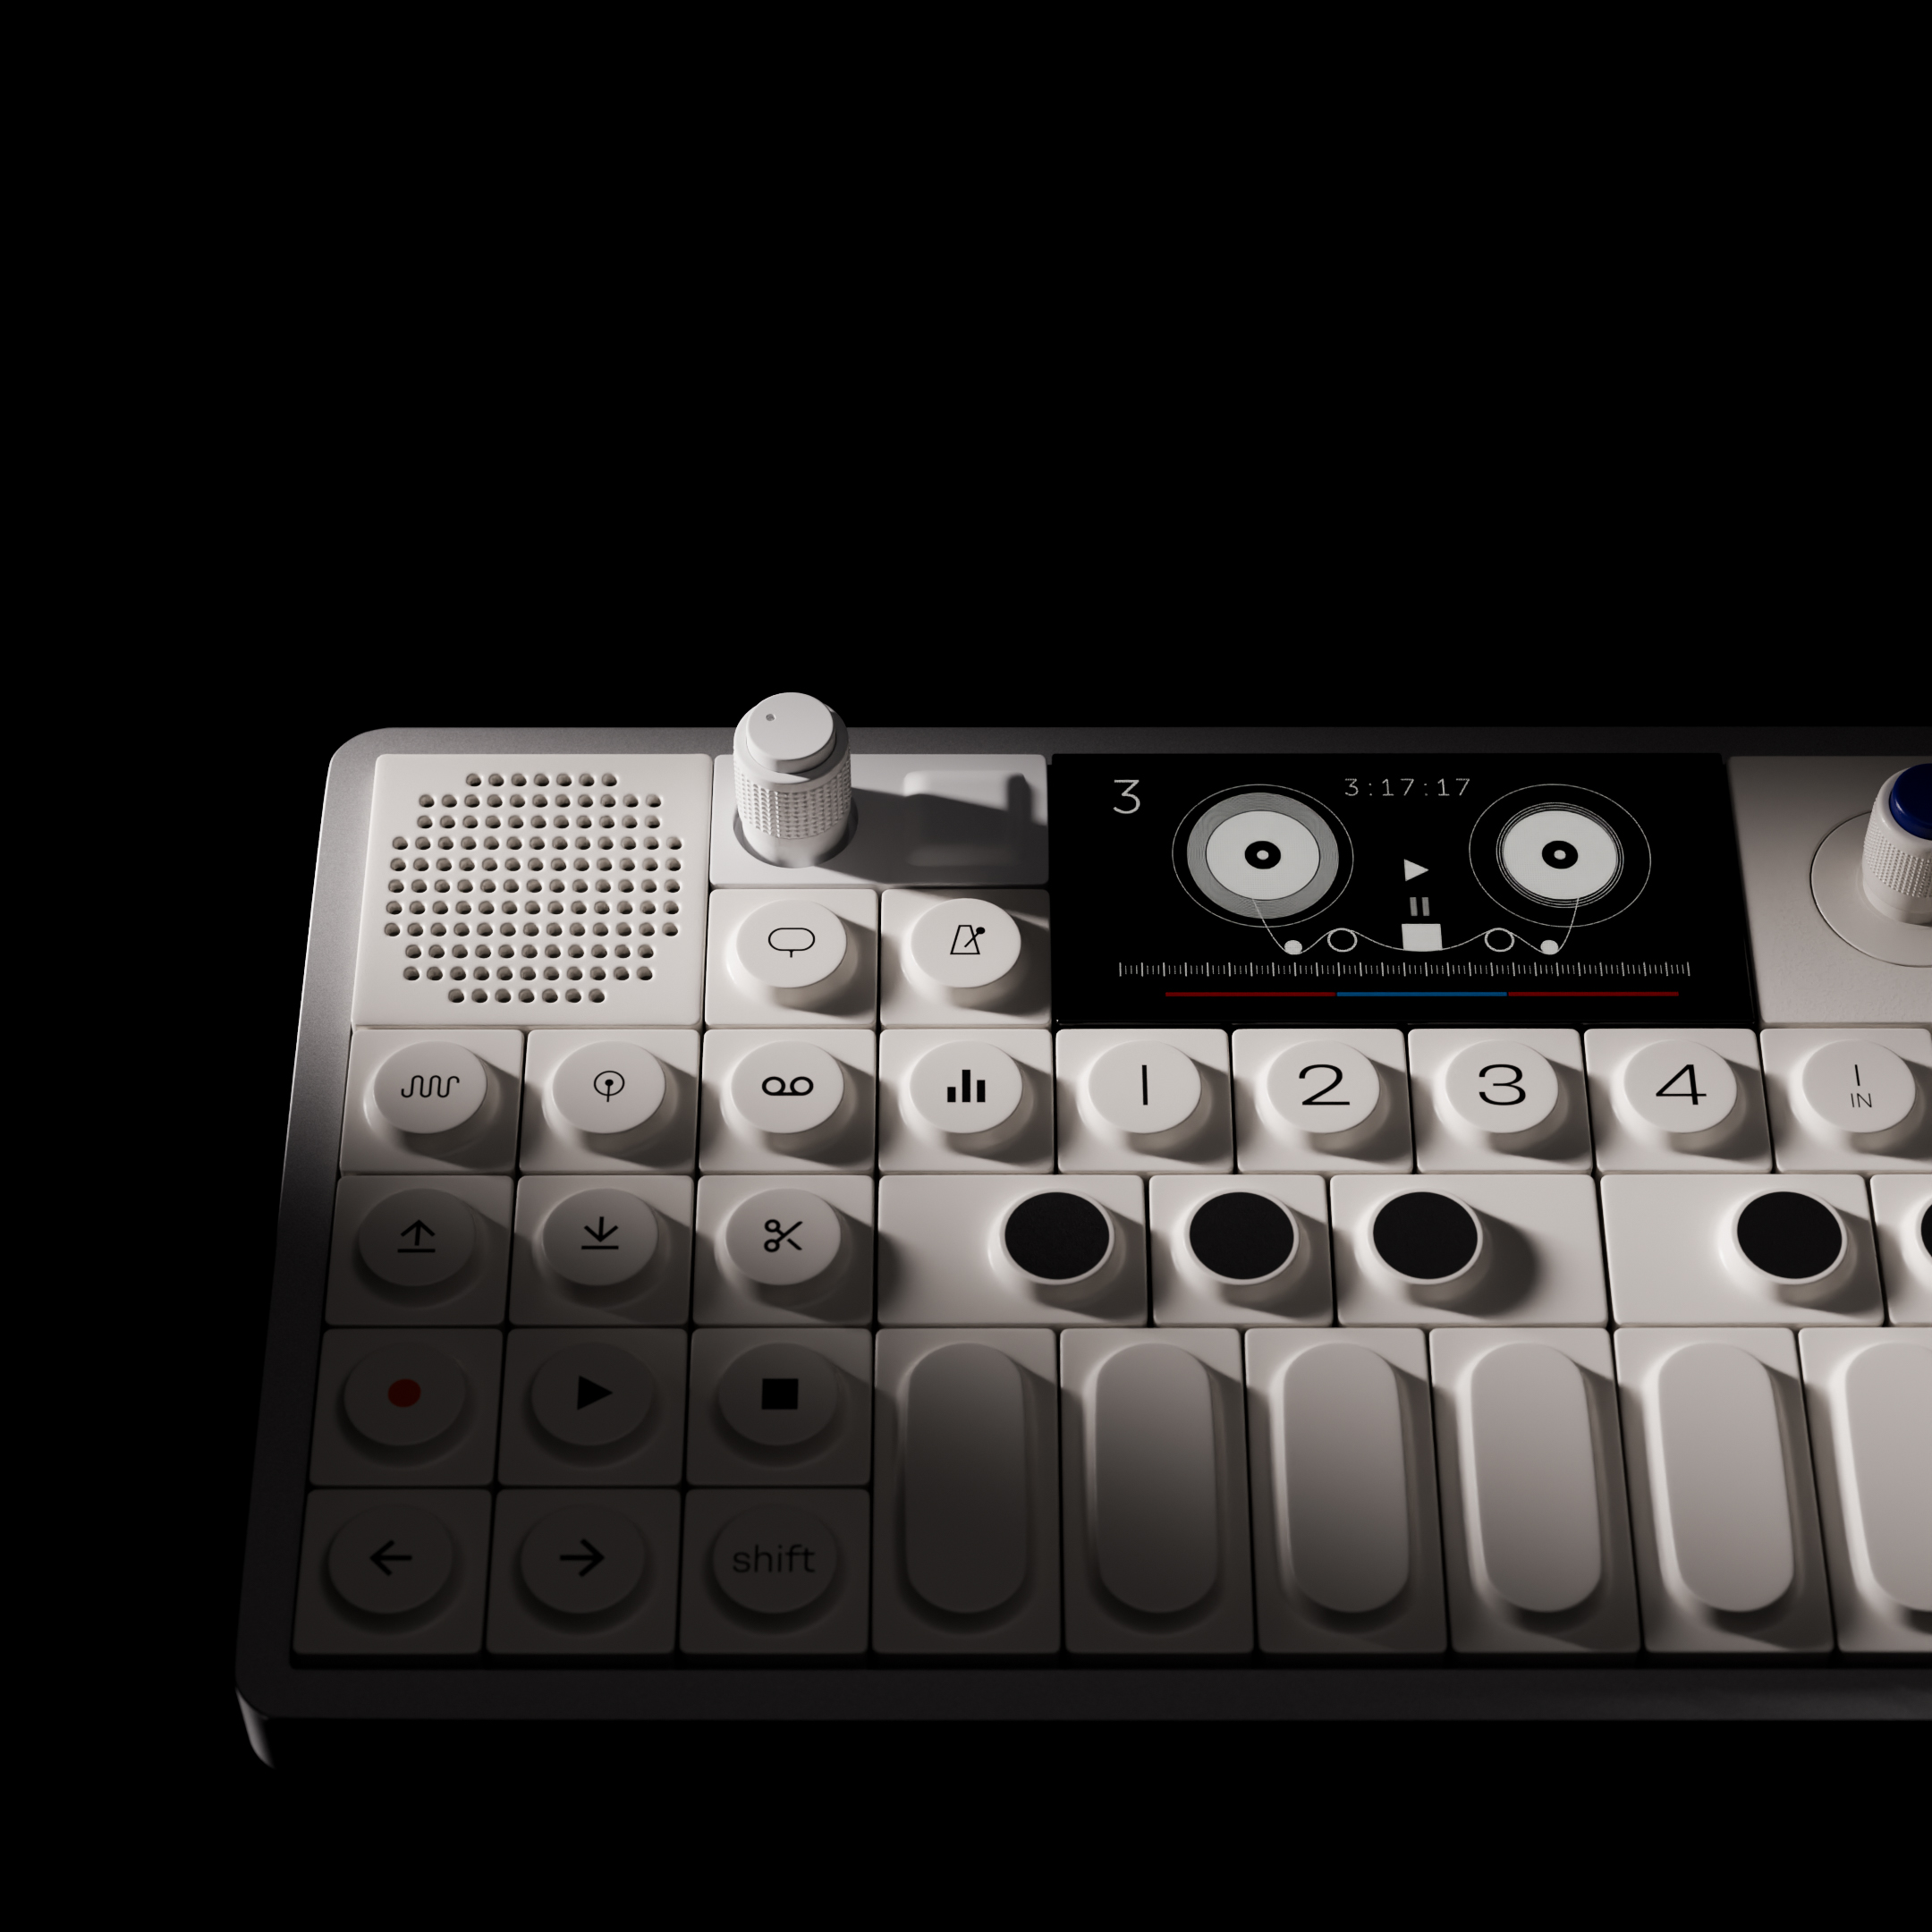
Teenage Engineering KO II with active screen UI. Every button has a custom Illustrator texture.
I chose Teenage Engineering products because they're some of the most interesting industrial design objects being made right now. The materials are raw and honest — exposed aluminum, textured rubber, matte plastics with deliberate tool marks. The proportions are precise. The details are dense. If you can render a Teenage Engineering product convincingly, you can render anything.
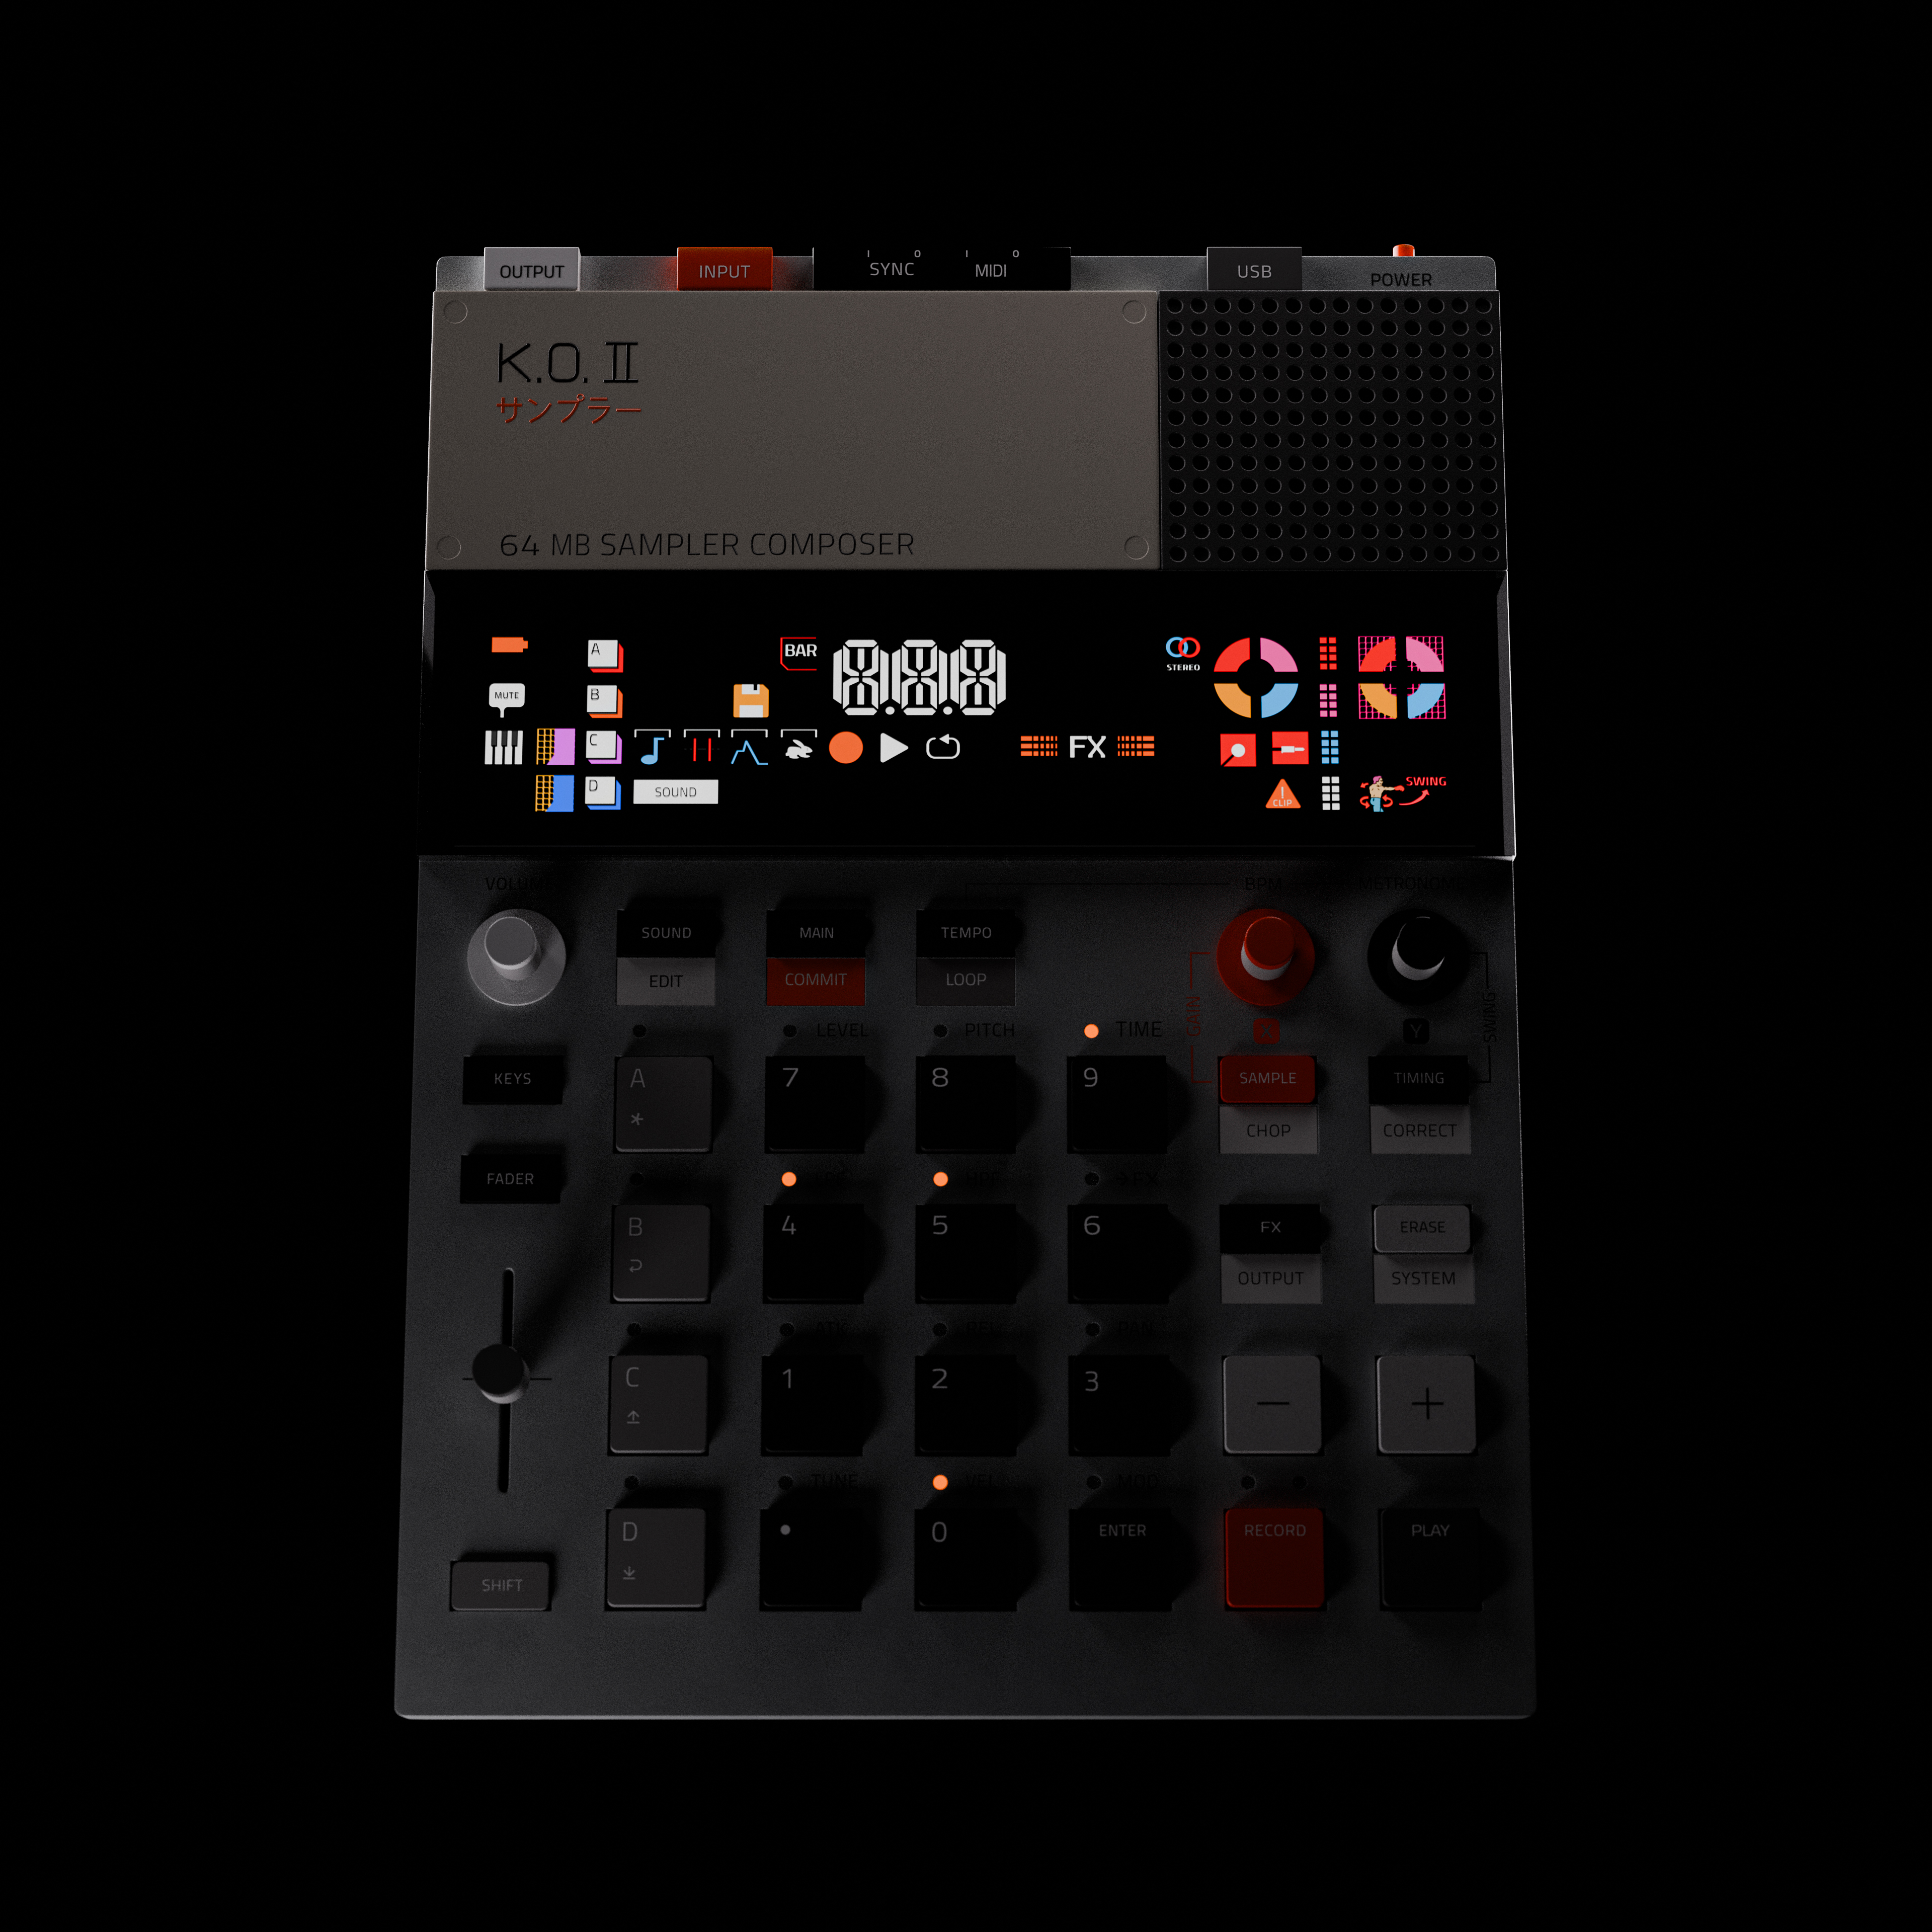
The KO II sampler was the most labor-intensive piece. Every one of those rubber pads has a unique label. I created all of those textures individually in Illustrator — custom stickers for every pad, every button, every label — then UV-mapped them onto the model surfaces. The screen is backlit with emissive materials and a subtle glow.
Three-quarter angle showing individual button textures and the backlit screen.
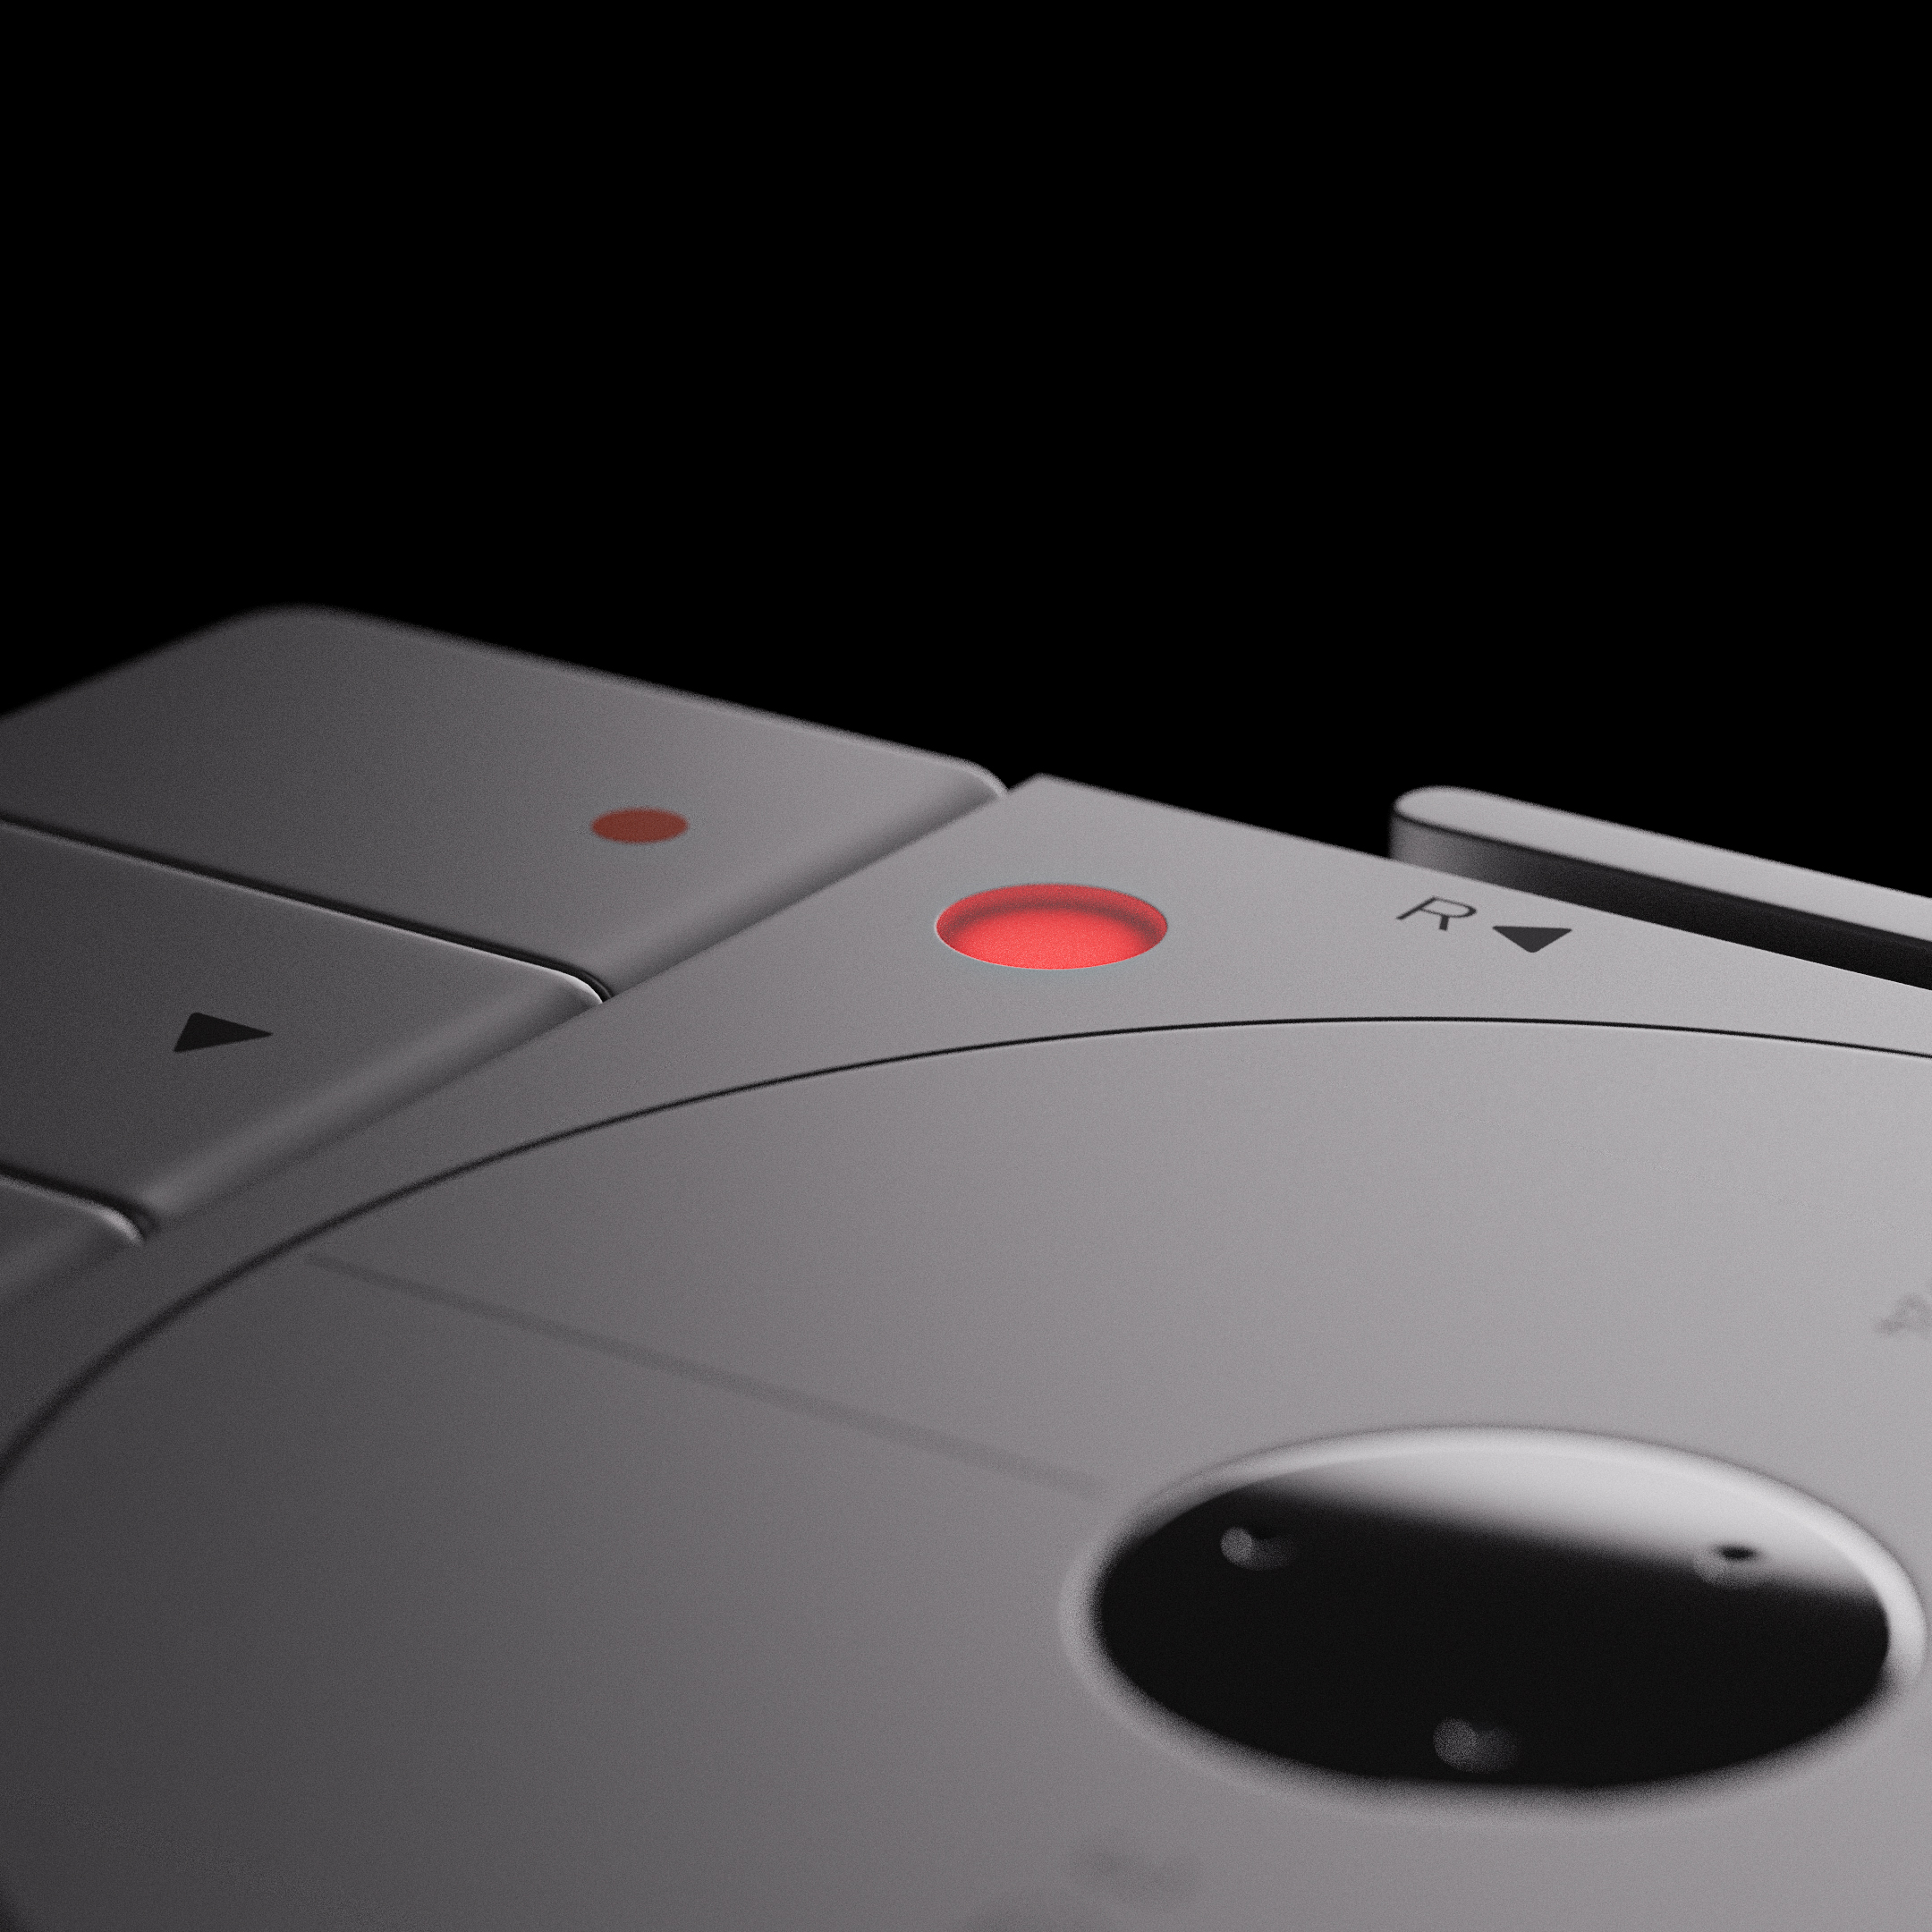
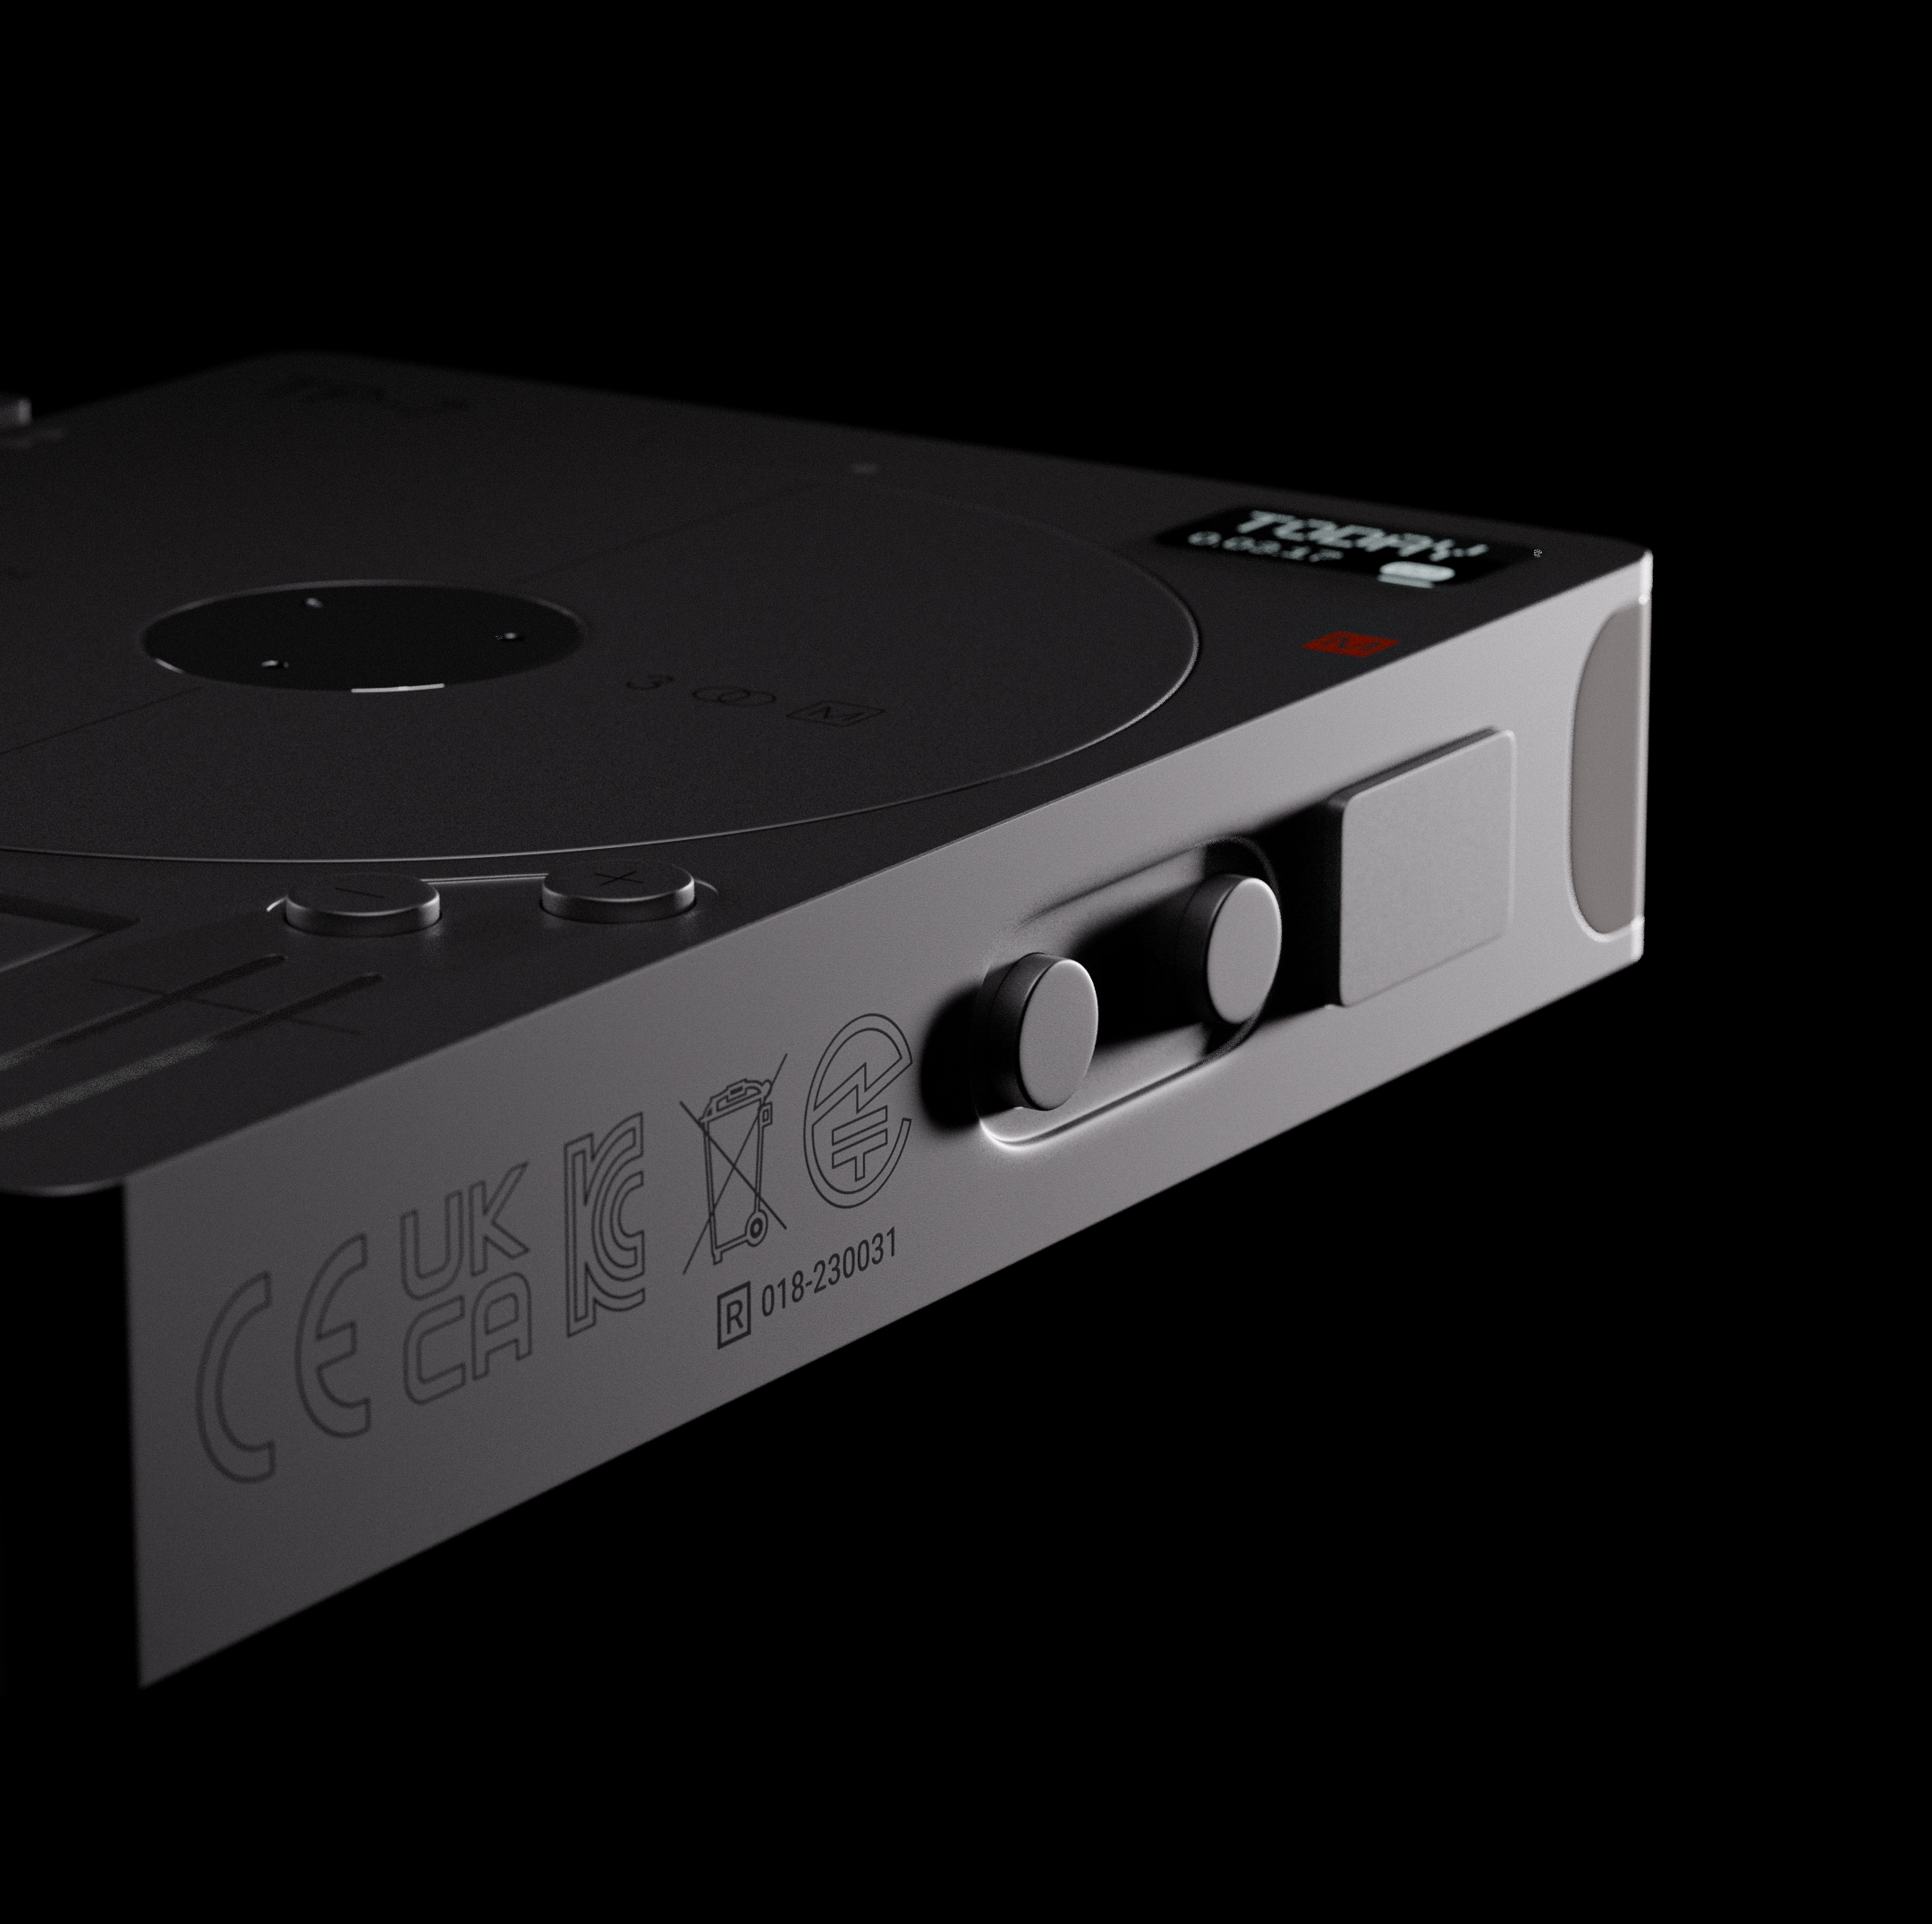
The TP-7 recorder challenged me in a different way. The device is mostly smooth metal with subtle surface variations — a platter mechanism on top, recessed buttons, a small display. The red record button uses subsurface scattering to get the translucent plastic glow right. The back panel has every certification mark, every regulatory code, rendered at a resolution where you could zoom in and read them.
I started with the OP-1 Field synthesizer — the first model I ever built in Blender. Every surface, every button, every knob was modeled individually from photo references. The materials were created by eyeballing photos and tweaking shader nodes until they matched. I went for accuracy down to the certification markings on the back panel.
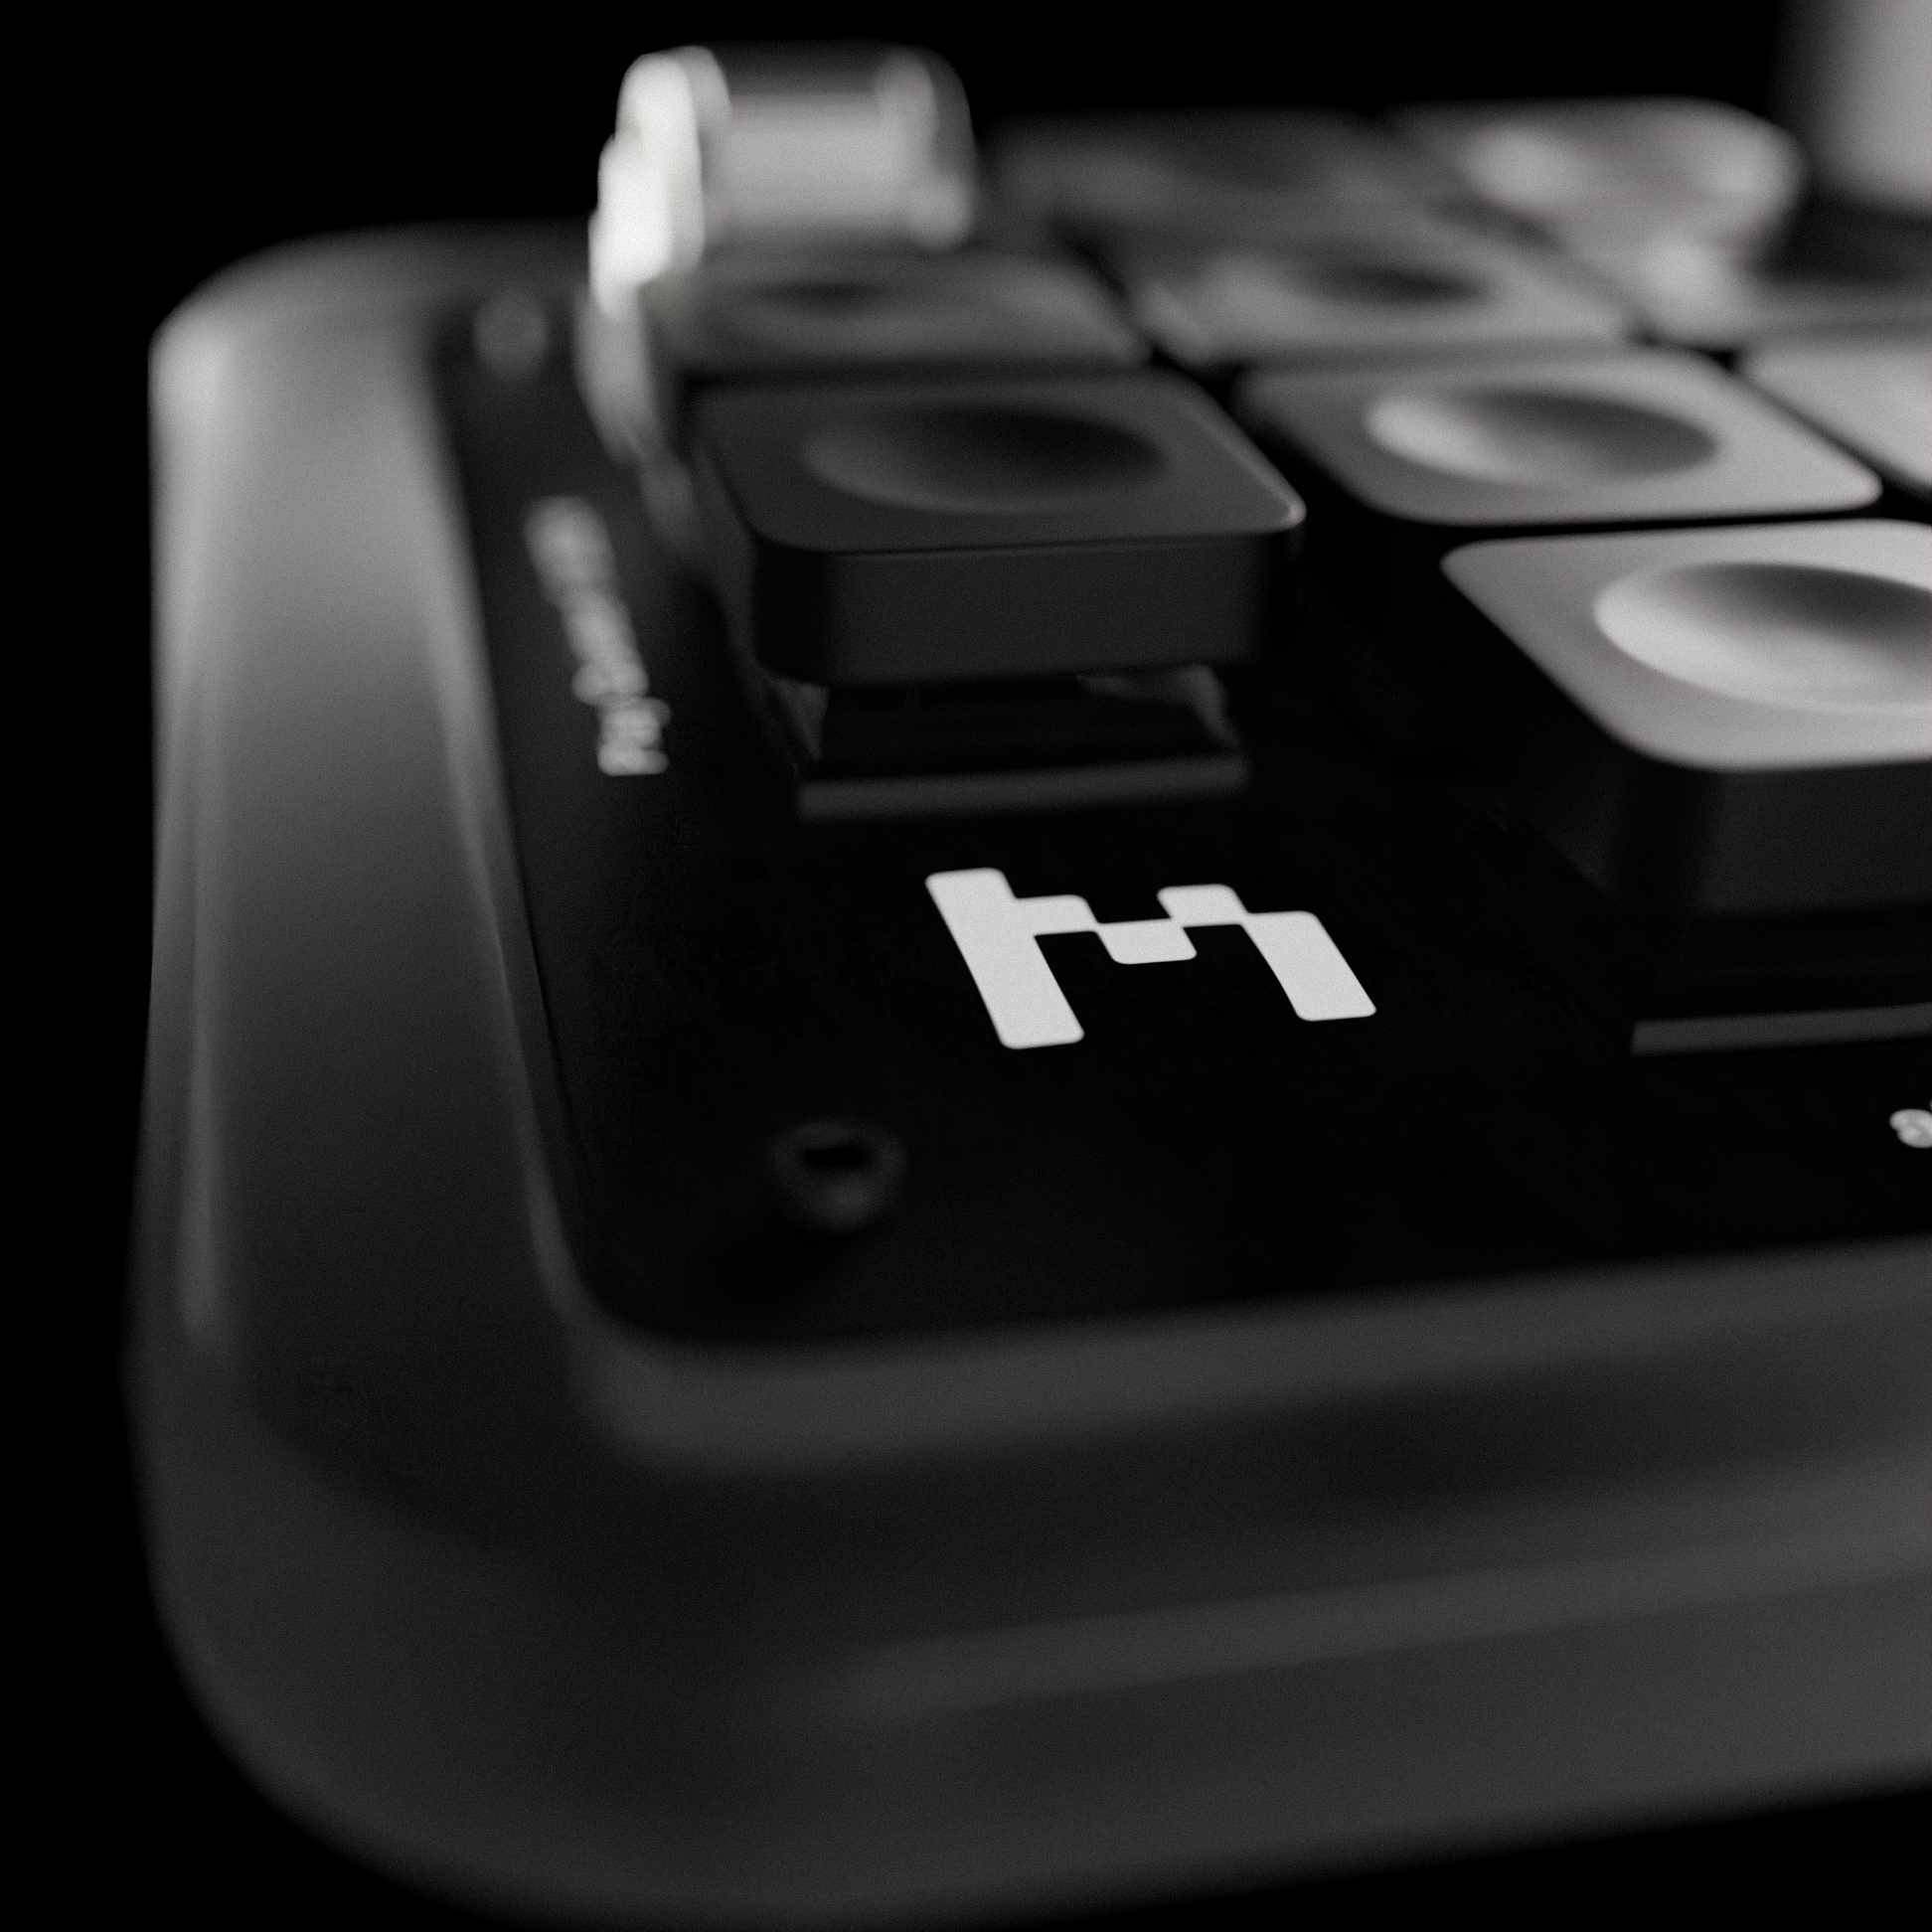
I put my signature into each model through Easter eggs. A birth date embedded in a serial number. A personal reference hidden in a texture. These aren't depth-mapped photos with some 3D trickery. Every model is built from individual parts — hundreds of separate objects per product — assembled, textured, lit, and composited into a final render.